AP Chem Lab Notebook
An (almost) verbatim digital version of my AP Chem Lab Notebook.
- Table of Contents
- 1. Physical and Chemical Changes Lab.
- 2. Mole Concept II
- 3. Hydrated Compounds
- 4. Empirical Formula Determination
- 5. Reactions in Solution Precipitation
- 6. Stoichiometry and Limiting Reagent
- 7. Standardization of a NaOH Solution
- 8. Vinegar Titration Lab
- 9. Molar Volume of a Gas
- 10. Additivity of Heats: Hess's Law
- 11. Molecular Mass Determination Using Boiling and Freezing Point
- 12. Equilibrium and LeChatlier's Principle
Table of Contents
-
Physical and Chemical Changes Lab: Page 1 to Page 5.
-
Mole Concept II: Page 6 to Page 7.
-
Hydrated Compounds: Page 8 to Page 10.
-
Empirical Formula Determination: Page 11 to Page 13.
-
Reactions in Solution Precipitation: Page 14 to Page 17.
-
Stoichiometry and Limiting Reagent: Page 18 to Page 21.
-
Standardization of a NaOH Solution: Page 22 to Page 25.
-
Vinegar Titration Lab: Page 26 to Page 29.
-
Molar Volume of a Gas: Page 30 to Page 33.
-
Additivity of Heats of Reaction: Hess's Law: Page 34 to Page 37.
-
Molecular Mass Determination: Page 38 to Page 41.
-
Equilibrium and Le Chatlier's Principle: Page 42 to Page 44.
1. Physical and Chemical Changes Lab.
Page 1
9/12/24
Partner: Jeff Somvorachith
Lab 1. Physical and Chemical Changes Lab
Purpose: To identify physical and chemical changes through different experiments.
Procedure:
Experiment A
-
-
-
- Dissolve a small amount of copper sulfate pentahydrate in water(no more than 1.2cm deep).
- Holding the test tube with a test tube holder, strongly heat the mixture over a Bunsen burner flame. Make sure that the mouth is directed at a wall, away from other people.
- Continue heating until a residue remains and the color changes.
- Allow the substance to cool.
- Add approximately 10ml of water to the test tube.
- Pour the solution into the waste container provided.
-
-
Experiment B
-
-
-
- Place a test tube into a test tube rack.
- Place HCI into the test tube(~2cm deep of HCI).
- place a 1.5cm piece of magnesium ribbon into the HCI.
- Pour Mg/HCI waste into the container.
-
-
Experiment C
-
-
-
- Dissolve a scoop of Epsom salts into 50ml of water in a 250ml beaker and stir to dissolve.
- Add 3 droppers full of household ammonia. Do not drink.
- Pour the solution down the drain. clean/dry the equipment.
-
-
Page 2
Experiment D
-
-
-
- Place 5 drops of silver nitrate into a test tube.
- Add 5 drops of sodium chloride into the test tube.
- Rinse test tube in the sink.
-
-
Experiment E
-
-
-
- Put about 50ml of water into an Erlenmeyer flask and take the temperature of the water.
- Add half a scoop of sodium bicarbonate to the flask and swirl to mix.
- After 1 minute, measure the temperature
in the sink.of the mixture. - Rinse flask in the sink.
-
-
Experiment F
-
-
-
- Measure one small scoop of sodium polyacrylate into a beaker.
- Add 10ml of water into the beaker.
- Invert the beaker over the sink.
- Add 10ml of water into the beaker.
- Invert the beaker over the sink.
- Put contents of the beaker into the appropriate waste container. Rinse out the beaker with lots of water.
-
-
Observations:
Experiment A
- The water is clear and the copper sulfate is blue.
Page 3
- There are some popping noises when heating and a smell is produced(water boiling smell).
- When mixed, the mixture is a transparent blue.
- It mixes as the water boils and becomes slightly darker and less transparent.
- After the liquid evaporates, there is a blue deposit left in the test tube. Some of it seemed to turn white. I think it is left over copper sulfate.
Experiment B
- HCI was clear, magnesium was metallic.
- When combined, it was exothermic, let off vapor, and bubbled.
Experiment C
- Water is clear, ammonia is clear(smells bad), Epsom salt is white.
- mixing Epson salt has no reaction.
- Mixing in ammonia makes a milky, cloudy mixture with things floating inside.
Experiment D
- Silver nitrate and sodium chloride are clear.
- When mixed, it turns white and begins to deposit a white substance. Cloudy.
Experiment E
- Water is white clear and 32oC.
- Sodium bicarbonate is white powder.
Page 4
9/12/24-9/13/24
- End mixture is clear.
- End mixture is 29oC.
Experiment - It cooled by 30C.
Experiment F
- Water is clear, sodium polyacrylate is white.
- The mixture is a solid, opaque substance that sticks to the beaker.
- The sodium polyacrylate absorbed all of the water.
- It is a jelly like substance hat looks like ice.
Conclusion:
The purpose of the lab was to identify physical and chemical changes through different experiments. We achieved this purpose by performing 6 different experiments and determining weather or not it was physical or chemical. Experiment A was a physical change because mixing water and copper sulfate gave a blue liquid, boiling away that water left a white powder, and adding water back turned it blue again. Experiment B was a chemical change because adding a magnesium strip to HCI caused it to dissolve the strip and had an exothermic reaction. Experiment C was a chemical reaction because mixing water, Epsom salts and ammonia created a
Page 5
milky, cloudy substance with chunks floating in it. Experiment D was a chemical reaction because mixing the silver nitrate and sodium chloride yielded a white and cloudy liquid. Experiment E was a chemical changes because it was an endothermic reaction. It cooled by about 3oC. Experiment F was a physical change because the sodium polycarbonate absorbed the water, which can be evaporated back out.
2. Mole Concept II
Page 6
9/19/24
Partner: Jeff Somvorachith
Lab 2. Mole Concept II
Purpose:
To practice using the mole and making mole calculations.
Procedure:
A. Mass a penny. Assuming it is pure copper, calculate:
-
-
-
- The number of moles of copper.
- The number of copper atoms present in the penny.
-
-
B. Mass 20 drops of water from your eyedropper, calculate:
-
-
-
- The number of moles of water present in only one drop of water.
- The number of molecules of water present in that one drop of water.
-
-
C. Mass one of the small pieces of the polyvinyl chloride(PVC) pipe, C2H3Cl, calculate:
-
-
-
- The number of moles of PVC in your sample.
- The number of molecules of PVC in your sample.
- The number of carbon atoms contained in your sample.
- The total number of all the types of atoms in your sample.
-
-
D. Mass one of the Styrofoam cups which are made of polystyrene, C8H8, calculate:
-
-
-
- The number of moles of polystyrene in your cup.
- The total number of all the types of atoms in your sample.
-
-
Data:
| A. |
3.07g |
penny |
| B. |
0.72g |
20 drops of water |
| C. |
6.49g |
PVC |
| D. |
3.61g |
Styrofoam cup |
Page 7
Analysis:
A. 3.07g/63.546 amu =0.0483 mol <-1.
0.0483 mol *6.022*1023=2.91*1022 atoms Cu. <-2.
B. 0.72g/20=0.036g 0.036g/(1.00794+15.9994)=0.0021 mol <-1.
0.0021 mol *6.022*1023=1.26*1021 molecules <-2.
C. 6.49/[2(12.0107)+3(1.00794)]=0.104 mol PVC <-1.
0.104*6.022*1023=6.26*1022 molecules <-2.
6.26*1022*2=1.25*1023 carbon atoms <-3.
6.26*1022*3=1.88*1023 hydrogen atoms <-4.
D. 3.61g/(8*12.0107+8*1.00794)=0.0347 mol <-1.
0.0347*6.022*1023=2.090 molecules
2.090*(8+8)=3.34 atoms
Conclusion:
Avogadro's number links the amount of atoms or molecules in a substance to the mole. the molar mass is used to convert between mass of a substance and the mole. {mole}={number of atoms or molecules}/{Avogadro's number} {mole}={mass(g)}/{molar mass(amu)} {atoms}={molecules}*{atoms per molecules} {molecule}={moles}*{Avogadro's number}. Molecules are made of atoms.
3. Hydrated Compounds
Page 8
10/11/24
Lab 3. Hydrated Compounds
Purpose:
To use hydrated compounds to practice calculating how much water molecules are attached to other molecules and compounds.
Procedure:
-
- Clean the crucible with water, dry it with a paper towel, and heat it for 2-3 minutes using the Bunsen burner.
- Let the crucible cool for 3-5 minutes. Use the crucible tongs to carry the crucible to a balance and mass the empty crucible.
- Mass out 3g of the assigned hydrated compound into the crucible.
- Heat the crucible and it's contents for about 10 minutes.
- Let the crucible cool and re-mass it.
- Heat the crucible and it's contents for 2 more minutes.
- Let the crucible cool and re-mass it.
- If the last mass does not agree within 0.02g with the last mass reading, reheat the crucible and re-mass it until the last to measurements are within 0.02g of each other.
- After final massing, place the crystals in the waste container provided. Clean the crucible, and clean the lab area.
- Determine the percentage of the water in the assigned hydrated compound.
Data:
Mass of crucible: 13.08g
Mass of hydrated compound: 3g MgSO4•H2O
Page 9
Mass of crucible and hydrated compound: 16.08g
Mass of crucible and anhydrous compound(first heating): 14.55g
Mass of crucible and anhydrous compound(second heating): 14.55g
Observations:
The MgSO4•xH2O turned a more white color and seemed to melt into a single mass. It started off as clear granules(like table salt), and ended up as a single white mass. Mass went down after heating.
Analysis:
Mass of anhydrous compound: 14.55g-13.08g=1.47g MgSO4
Mass of water in hydrated compound: 3g-1.47g=1.53g H2O
Moles of anhydrous compound: 1.47g/(24.30+32.06+4*16.00)=12.2*10-3 mol MgSO4
Moles of water in hydrated compound: 1.53g/(2*1.008+16.00)=84.9*10-3 mol H2O
Ratio of moles of anhydrous compound to moles of water: 12.2*10-3/12.2*10-3 mol MgSO4:84.9*10-3/12.2*10-3 mol H2O=1:6.959 ~1:7 mol. MgSO4•7H2O.
Conclusion:
The purpose of this lab was to use hydrated compounds to practice calculating how many water molecules are attached to hydrated compounds. We achieved this purpose by heating and weighing hydrated compounds until there was no water left and calculating the difference between the hydrated compound and anhydrous compound to find how much water was in the hydrated compound. Potential sources of error may be inaccuracies in weighing, contamination, or water that didn't get evaporated. Potential improvements may include a moisture-free environment, and a better controlled heating colution and weighing system. From the analysis, there was about 1.53g of water in the 3g of MgSO4•xH2O, leaving about 1.47g of MgSO4, ~51% H2O.
Page 10
10/14/24
I get a ratio of 1:9.6 mol MgSO4:H2O, the correct ratio is 1:7. My results are pretty accurate. The water must have been pretty close to completely evaporated, assuming the scale was 100% accurate. The error most likely comes from an inaccurate scale, given how close the answer is to the actual value.
4. Empirical Formula Determination
Page 11
10/15/24
Partner: Connor Engels
Lab 4. Empirical Formula Determination
Purpose:
To determine the empirical formula for a tin-oxygenated product.
Procedure:
-
- Clean and dry an evaporating dish and a watch glass cover. To dry them, heat strongly for 2-3 minutes using a burner. Us forceps or tongs to handle the dish and cover throughout the experiment.
- Place about 2g of granulated tin in the dish, cover with the watch glass and mass.
- In the fume hood, add 5ml of 8M nitric acid and replace the watch glass.
- After the chemical reaction had stopped, heat the dish over a low flame. An excessive amount of popping and spattering indicates that you are heating too rapidly. Continue to heat slowly until the contents are nearly dry.
- When the popping and spattering no longer occur, remove the evaporating dish from the heat source. Remove the watch glass, taking care not o lose any of the product. Do not clean the watch glass until all the measurements have been made. Break up the solid with a stir rod.
- Place the dish onto wire gauze. Heat carefully with a hot flame until the solid becomes a pale yellow. Remove the dish from the heat source and let it cool.
- After the dish has cooled, replace the watch glass and re-mass. Reheat the dish for 2-3 and allow to cool. Re-mass, if the mass does not agree within 0.02g, reheat and re-mass until the last 2 measurements agree.
- Discard the slid material into the designated container.
Page 12
Data:
Mass of tin: 2g
Mass of tin, evaporating dish, and watching glass: 39.21g
Mass after 1st heating: 39.76g
Mass after 2nd heating: 39.71g
Mass after 3rd heating: 39.71g
Observations:
It started to bubble, turn orange, and let off orange vapor. Bad, sulfur kind of smell. Orange vapor started to turn white. Dumped in a little more that 5ml(nitric acid). Left a residue on the watching glass. Tin dissolved into the acid. Acid kind of disappeared. Eventually stopped bubbling and letting off vapor. Took about 8 minutes to stop reacting. Liquid on top of the watching glass. Starts to turn from white to yellow when heating. Yellow to white when heating. Lets off more vapor when hated. A little popping. Some product fell out as we heated it. Turned orange, to white, to yellow. Has an indescribable smell, kind of like cleaning product. Let off an orange vapor. Pretty dry after heating. Some product stuck to the stir rod, some fell off the watch glass. Began to turn a darker yellow with more intense heating. Much stronger smell after stronger heating was finished. Some got more heated than others. It turns a more uniform color with more heating and stirring. Mass was 0.5g off on the first and second heating. Exact on for second and third heating.
Page 13
10/16/24
Analysis:
Mass of Sn 2.00 g/118.7 g/mol=0.0168 mol Sn
39.71g-39.21g=0.5g O
mass O 0.5 g/16.00 g/mol=0.0313 mol O
0.0313 mol O/0.0168 mol Sn=1.86≈2 O
0.0168 Sn/0.0168 Sn=1 Sn
Empirical Formula=SnO2
Conclusion:
The purpose of the lab was to determine the empirical formula for a tin-oxygenated product. We achieved this by combining granulated tin and nitric acid, burning out the excess nitric acid and water, and weighing the tin and product to find the moles of tin and oxygen to derive the empirical formula. We got the formula SnO1.86, which we rounded to SnO2, which is the correct formula. We got this formula by calculating the moles of tin, subtracting the final mass from the initial mass, and using that to calculate the moles of oxygen. Then, we divided both answers by the moles of tin to get the empirical formula. If I were to do it again, I would use closer to 5mL of nitric acid, and try to lose less product. Sources of error likely include losing the product from it falling out while heating, and sticking to the stir rod. This would affect the final weight, thus skewing the how much oxygen is calculated, such as with the mole calculations. Not losing any product would have yielded a better result. Other than losing product, everything else went really smoothly.
5. Reactions in Solution Precipitation
Page 14
Partner: Jeff Somvorachith
10/31/24
Lab 5. Reactions in Solution Precipitation
Purpose:
To practice identifying reactions that result in precipitation and practice recognizing and writing equations for double replacement reactions by testing pairs of reagents and looking for signs of chemical change and writing molecular and ionic equations for the reactions.
Prelab:
-
- a. Zinc Sulfide: ZnS
b. Chromium(III) Hydroxide: Cr(OH)3
c. Lead(II) Phosphate: Pb3(PO4)2 - a. Sodium Chloride: NaCl->Na++Cl-
b. Copper(II) Chloride: CuCl2->Cu2++2Cl-
c. Iron(III) Sulfate: Fe2(SO4)3->2Fe3++3SO42- - Fe(NO3)3+K2CO3->Fe2(CO3)3 (s)+KNO3
- 0.2M*1L=M1*2L M1=0.1M
- a. Zinc Sulfide: ZnS
Procedure:
- Use 4-5 drops of each reagent for each pair of your tests. Note and record any sign of reaction. Test all possible pair of combinations of one group A reagent with one group B reagent. Record your observations in the data table in your notebook. Recall that not all pairs will react, and that sometimes the evidence of reaction, especially formation of a precipitate, take a few moments to appear.
- If there are any combinations about which you doubt, repeat the tests.
- Return pipettes containing unused portions of the reagent
Page 15
solutions to the proper location. Some of the solutions contain transition metal ions, so should not be washed down the drain. Instead, dump the contents onto a paper towel in the tray labeled "transition metal waste". Wash some items with water and clean others with cotton swabs.
Safety: Barium is toxic, don't touch. wash hands thoroughly.
Data Table:
| CoCl2 |
CuCl2 |
AlCl3 |
BaCl2 |
NiCl2 |
|
| NaI |
No Reaction |
Turned Brown, Precipitated |
No Reaction |
No Reaction |
No Reaction |
| Na2CO3 |
Precipitated |
Precipitated |
Precipitated |
Precipitated |
Precipitated |
| Na3PO4 |
Tuned Purple, Precipitated |
Precipitated |
Precipitated |
Precipitated |
Precipitated |
| Na2SO4 |
No Reaction |
No Reaction |
No Reaction |
Precipitated |
No Reaction |
| NaOH |
Turned Purple, Precipitated |
Precipitated |
Precipitated |
Precipitated |
Precipitated |
Page 16
Conclusion:
a. Formula of Precipitates
| CoCl2 |
CuCl2 |
AlCl3 |
BaCl2 |
NiCl2 |
|
| NaI |
CuI2 |
||||
| Na2CO3 |
CoCO3 |
CuCO3 |
Al2(CO3)3 |
BaCO3 |
NiCO3 |
| Na3PO4 |
Co3(PO4)2 |
Cu3(PO4)2 |
AlPO4 |
Ba3(PO4)2 | Ni3(PO4)2 |
| Na2SO4 |
BaSO4 |
||||
| NaOH |
Co(OH)2 |
Cu(OH)2 |
Al(OH)3 |
Ba(OH)2 |
Ni(OH)2 |
b. Molecular Formulas
CuCl2(aq)+2NaI(aq)->2CuI2(s)+2NaCl(aq)
CoCl2(aq)+Na2CO3(aq)->CoCO3(s)+2NaCl(aq)
CuCl2(aq)+Na2CO3(aq)->CuCO3(s)+2NaCl(aq)
2AlCl3(aq)+3Na2CO3(aq)->Al2(CO3)3(s)+6NaCl(aq)
BaCl2(aq)+Na2CO3(aq)->BaCO3(s)+2NaCl(aq)
NiCl2(aq)+Na2CO3(aq)->NiCO3(s)+2NaCl(aq)
3CoCl2(aq)+2Na3PO4(aq)->Co3(PO4)2(s)+6NaCl(aq)
3CuCl2(aq)+2Na3PO4(aq)->Cu3(PO4)2(s)+6NaCl(aq)
AlCl3(aq)+Na3PO4(aq)->AlPO4(s)+3NaCl(aq)
3BaCl2(aq)+2Na3PO4(aq)->Ba3(PO4)2(s)+6NaCl(aq)
3NiCl2(aq)+2Na3PO4(aq)->Ni3(PO4)2(s)+6NaCl(aq)
BaCl2(aq)+Na2SO4(aq)->BaSO4(s)+2NaCl(aq)
CoCl2(aq)+2NaOH(aq)->Co(OH)2(s)+2NaCl(aq)
CuCl2(aq)+2NaOH(aq)->Cu(OH)2(s)+2NaCl(aq)
AlCl3(aq)+3NaOH(aq)->Al(OH)3(s)+3NaCl(aq)
BaCl2(aq)+2NaOH(aq)->Ba(OH)2(s)+2NaCl(aq)
NiCl2(aq)+2NaOH(aq)->Ni(OH)2(s)+2NaCl(aq)
Page 17
11/1/24
c. Net ionic formulas
Cu2++2I+->CuI2
Co2++Co32-->CoCO3
Cu2++Co32+->CoCO3
2Al3++3CO32-->Al2(CO3)3
Ba2++CO32-->BaCO3
Ni2++CO32-->NiCO3
3Co2++2PO43-->Co3(PO4)2
3Cu2++2PO43-->Cu3(PO4)2
Al3++PO43-->AlPO4
3Ba2++2PO43-->Ba3(PO4)2
3Ni2++2PO43-->Ni3(PO4)2
Ba2++SO42-->BaSO4
Co2++2OH-->Co(OH)2
Cu2++2OH-->Cu(OH)2
Al3++3OH-->Al(OH)3
Ba2++2OH-->Ba(OH)2
Ni2++2OH-->Ni(OH)2
6. Stoichiometry and Limiting Reagent
Page 18
Partner: Jeff Somvorachith
11/4/24
6. Stoichiometry and Limiting Reagent
Purpose:
To practice using stoichiometry and identifying and calculating the limiting reagent by reacting copper(II) sulfate with iron, determining the limiting reagent, and observing the reaction for precipitates and changes and calculating the percent yield and writing formulas using stoichiometry.
Procedure:
-
- Place about 7.00g of copper(II) sulfate in a beaker.
- Add about 50mL of water to the beaker.
- Arrange the beaker and stand.
- Carefully heat and stir the mixture in the beaker. The solution should be hot but not boiling. After all the crystals have dissolved, remove the beaker from the heat.
- Add about 2.00g of iron fillings slowly to the hot CuSO4 solution while stirring. Record observations.
- Allow the beaker to cool for 10-15 minutes.
- Pour off(decant) the solution into a different beaker. Pouring the solution down a stirring rod is recommended. Make sure not to disturb the solid product.
- Add a small amount of water(at least 10mL) to the copper and stir.
- Let the copper settle to the bottom of the beaker and decant again.
- Dry the copper and mass it.
Data:
| Mass empty beaker w/ tape |
Mass CuSO4 |
Mass Fe |
Mass Beaker+Copper |
| 117.25g |
7.00g |
2.00g |
119.42g |
Observations:
Water was exactly 50mL, all other measurements were exact.
Page 19
The tape on our beaker burned. Took about 1 minute 50 seconds to dissolve. Letting off steam. Seems to heat up more when adding the iron. Solution turned from blue to grey. Iron seemed to rust. Combined to form Fe3O3. Has an iron sort of smell. Precipitate settled to the bottom. Was a darker blue fluid with a red bubbling deposit on the bottom. Some filings stuck to the stirring rod and side of the beaker. Some of the tape burned off. After decanting, deposit was a wet, red powder. Decanted liquid was more of a teal color. There was a little bit of deposit that was decanted. Second decant was a more red color liquid. Definitely lost some of the precipitate. Third decant was more cloudy. Decanted liquid was a very clear, very light blue liquid with some precipitate. Final product was wet, red, some black, and powdery. After drying, it is a solid mass with a reddish-brown color. Very dry. Some iron left over. Some of the product was black.
Analysis:
| Limiting Reactant |
Theoretical Yield |
Percent Yield |
| Iron |
2.28g |
95.2% |
-
- Iron is the limiting reactant. No more iron was left over, only copper.
(2.00g Fe /55.85)*63.55=2.28g Cu
(7.00g CuSO4 /[63.55+32.06+4*16.00])*63.55=2.56g Cu - Iron was the limiting reactant so that there would be no iron left over with the copper. If copper(II) sulfate was the limiting reactant, there would be iron left in the copper, affecting the weight and calculation.
- Iron is the limiting reactant. No more iron was left over, only copper.
Page 20
3. Water was added to remove any underacted copper(II) sulfate, iron, and iron(II) sulfate. The solution was washed to isolate the copper.
4. The water added didn't matter if the measurement w for water was exact because it wasn't included in the reaction. Water was only used to wash the copper and help facilitate the reaction.
5. Fe+CuCO4->Cu+FeSO4 The formula for the iron-containing compound was FeSO4. The observations support this as the color of the copper(II) sulfate solution got darker, so it is iron(II) that was used. So, it would be Fe2++SO42-->FeSO4, making the formula FeSO4.
6. 95.2% Yield 119.42g-117.25g=2.17g (2.17/2.28)*100=95.2%
Conclusion:
The purpose of this lab was to practice identifying and calculating limiting reactants. We did this by combining copper(II) sulfate with iron filings and weighing the mass of the empty beaker, beaker with copper, and both reactants to use the mass to calculate the theoretical yield, actual yield, and percent yield. Through achieving this purpose, we were able to determine the limiting reactant and percent yield using the mass, and used observations to determine the charge of the iron used, when the reaction was complete, and what
Page 21
was left over after and what was left over was the limiting reactant. The limiting reactant turned out to be the iron, both through math and observations, as copper was all that was left after. All of the iron would have reacted to form iron(II) sulfate, leaving behind copper. The calculated theoretical yield was 2.28g of copper. We ended up with a final weight of 2.12g, making for a 95.2% yield. Some possible errors that may have affected our results are some copper(II) sulfate that was left unreacted, interacted iron filings stuck on the beaker and stirring rod, the tape on the beaker partially burned off reducing the mass, and accidentally decanting off some of the reactants or copper. If I were to to the lab again, I would use an amount of reactant close to what is required so that there are less unreacted reagents left over, I wouldn’t use tape, and I would make sure everything gets reacted fully, not stuck to the beaker or stirring rod. The percent yield tells me that some of the product was lost or never created. There was less copper left in the beaker than there could have been. Our methods were not thorough or careful enough to get perfect results and our results are only as good as the scale we mass it it and how complete our reaction was.
7. Standardization of a NaOH Solution
Page 22
11/7/24
Partner: Jeff Somvorachith
7. Standardization of a NaOH Solution
Purpose:
To determine the molarity of an NaOH solution by reacting a kniwn volume of each reagent, NaOH and KHP, and using the known molarity of the KHP solution to determine the molarity of the NaOH solution when the stoichiometric endpoint is detected.
Procedure:
-
- Flush a buret several times with distilled water. Then, rinse the buret with 5mL portions of the NaOH solution. Drain the buret each rinse through the buret tip. Discard each rinse in the "water bases" container.
- Using a clean funnel, fill the buret with the NaOH solution. Wait a few seconds, then record the initial buret volume of NaOH.
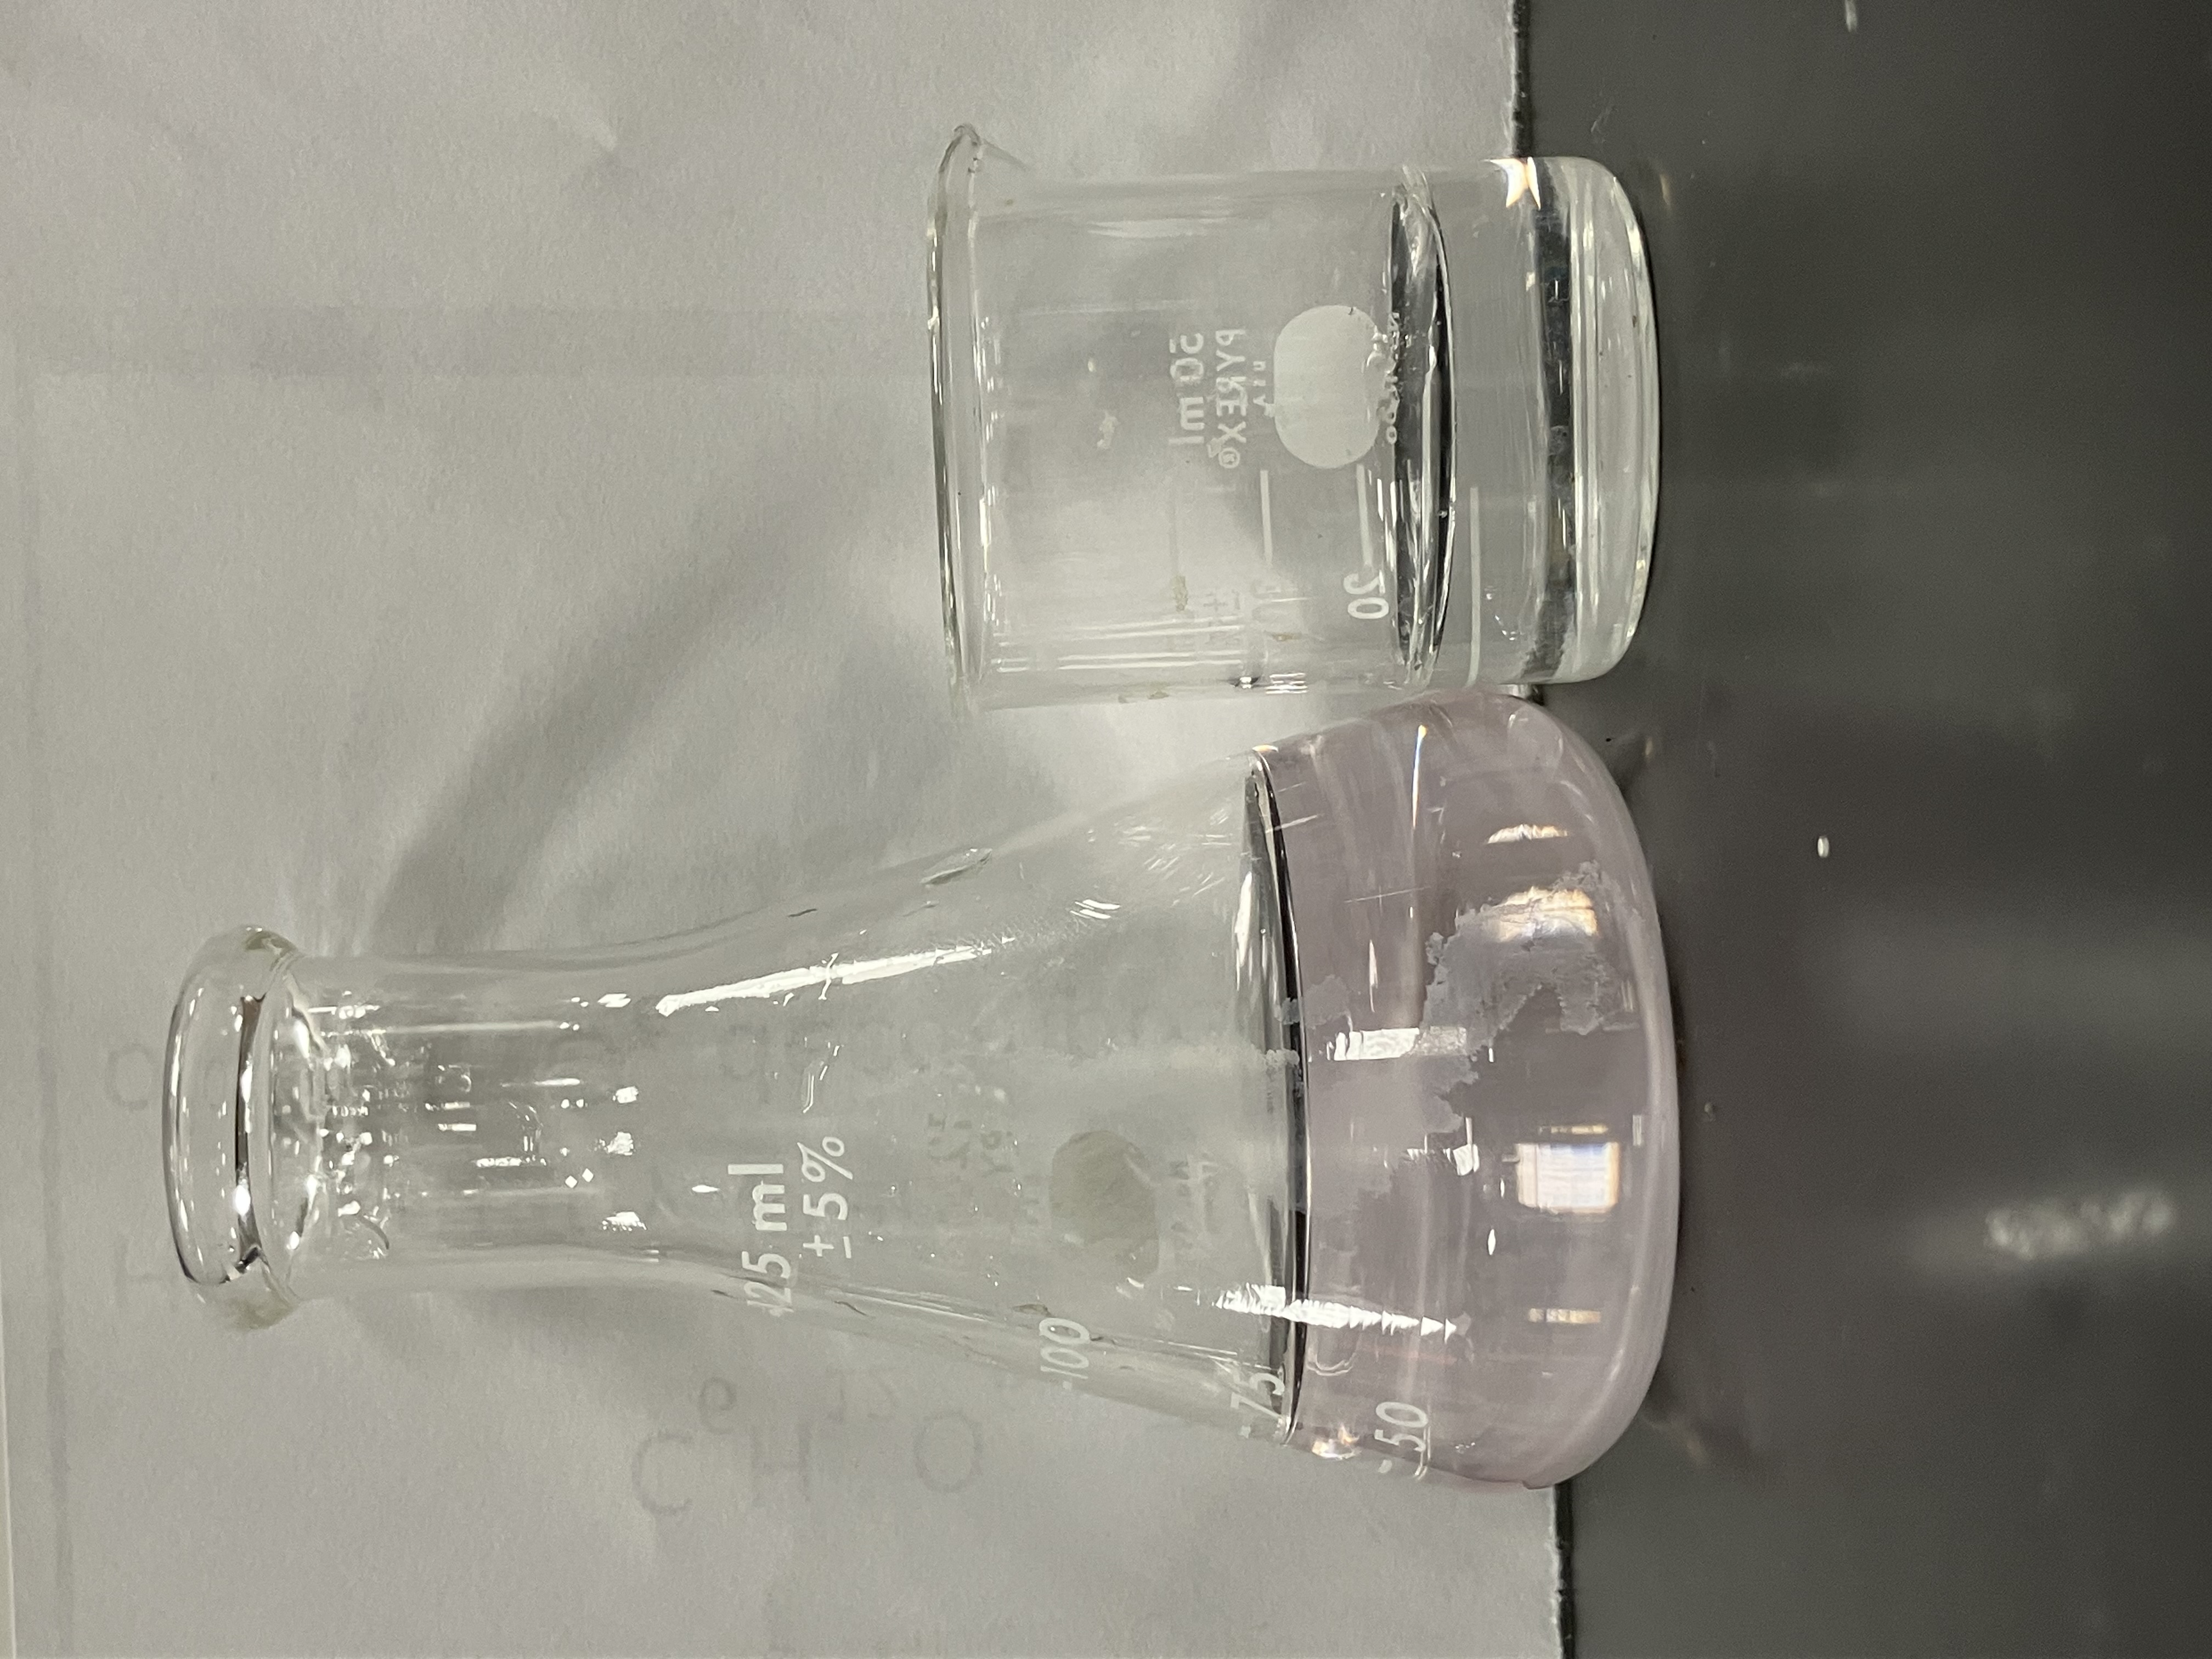
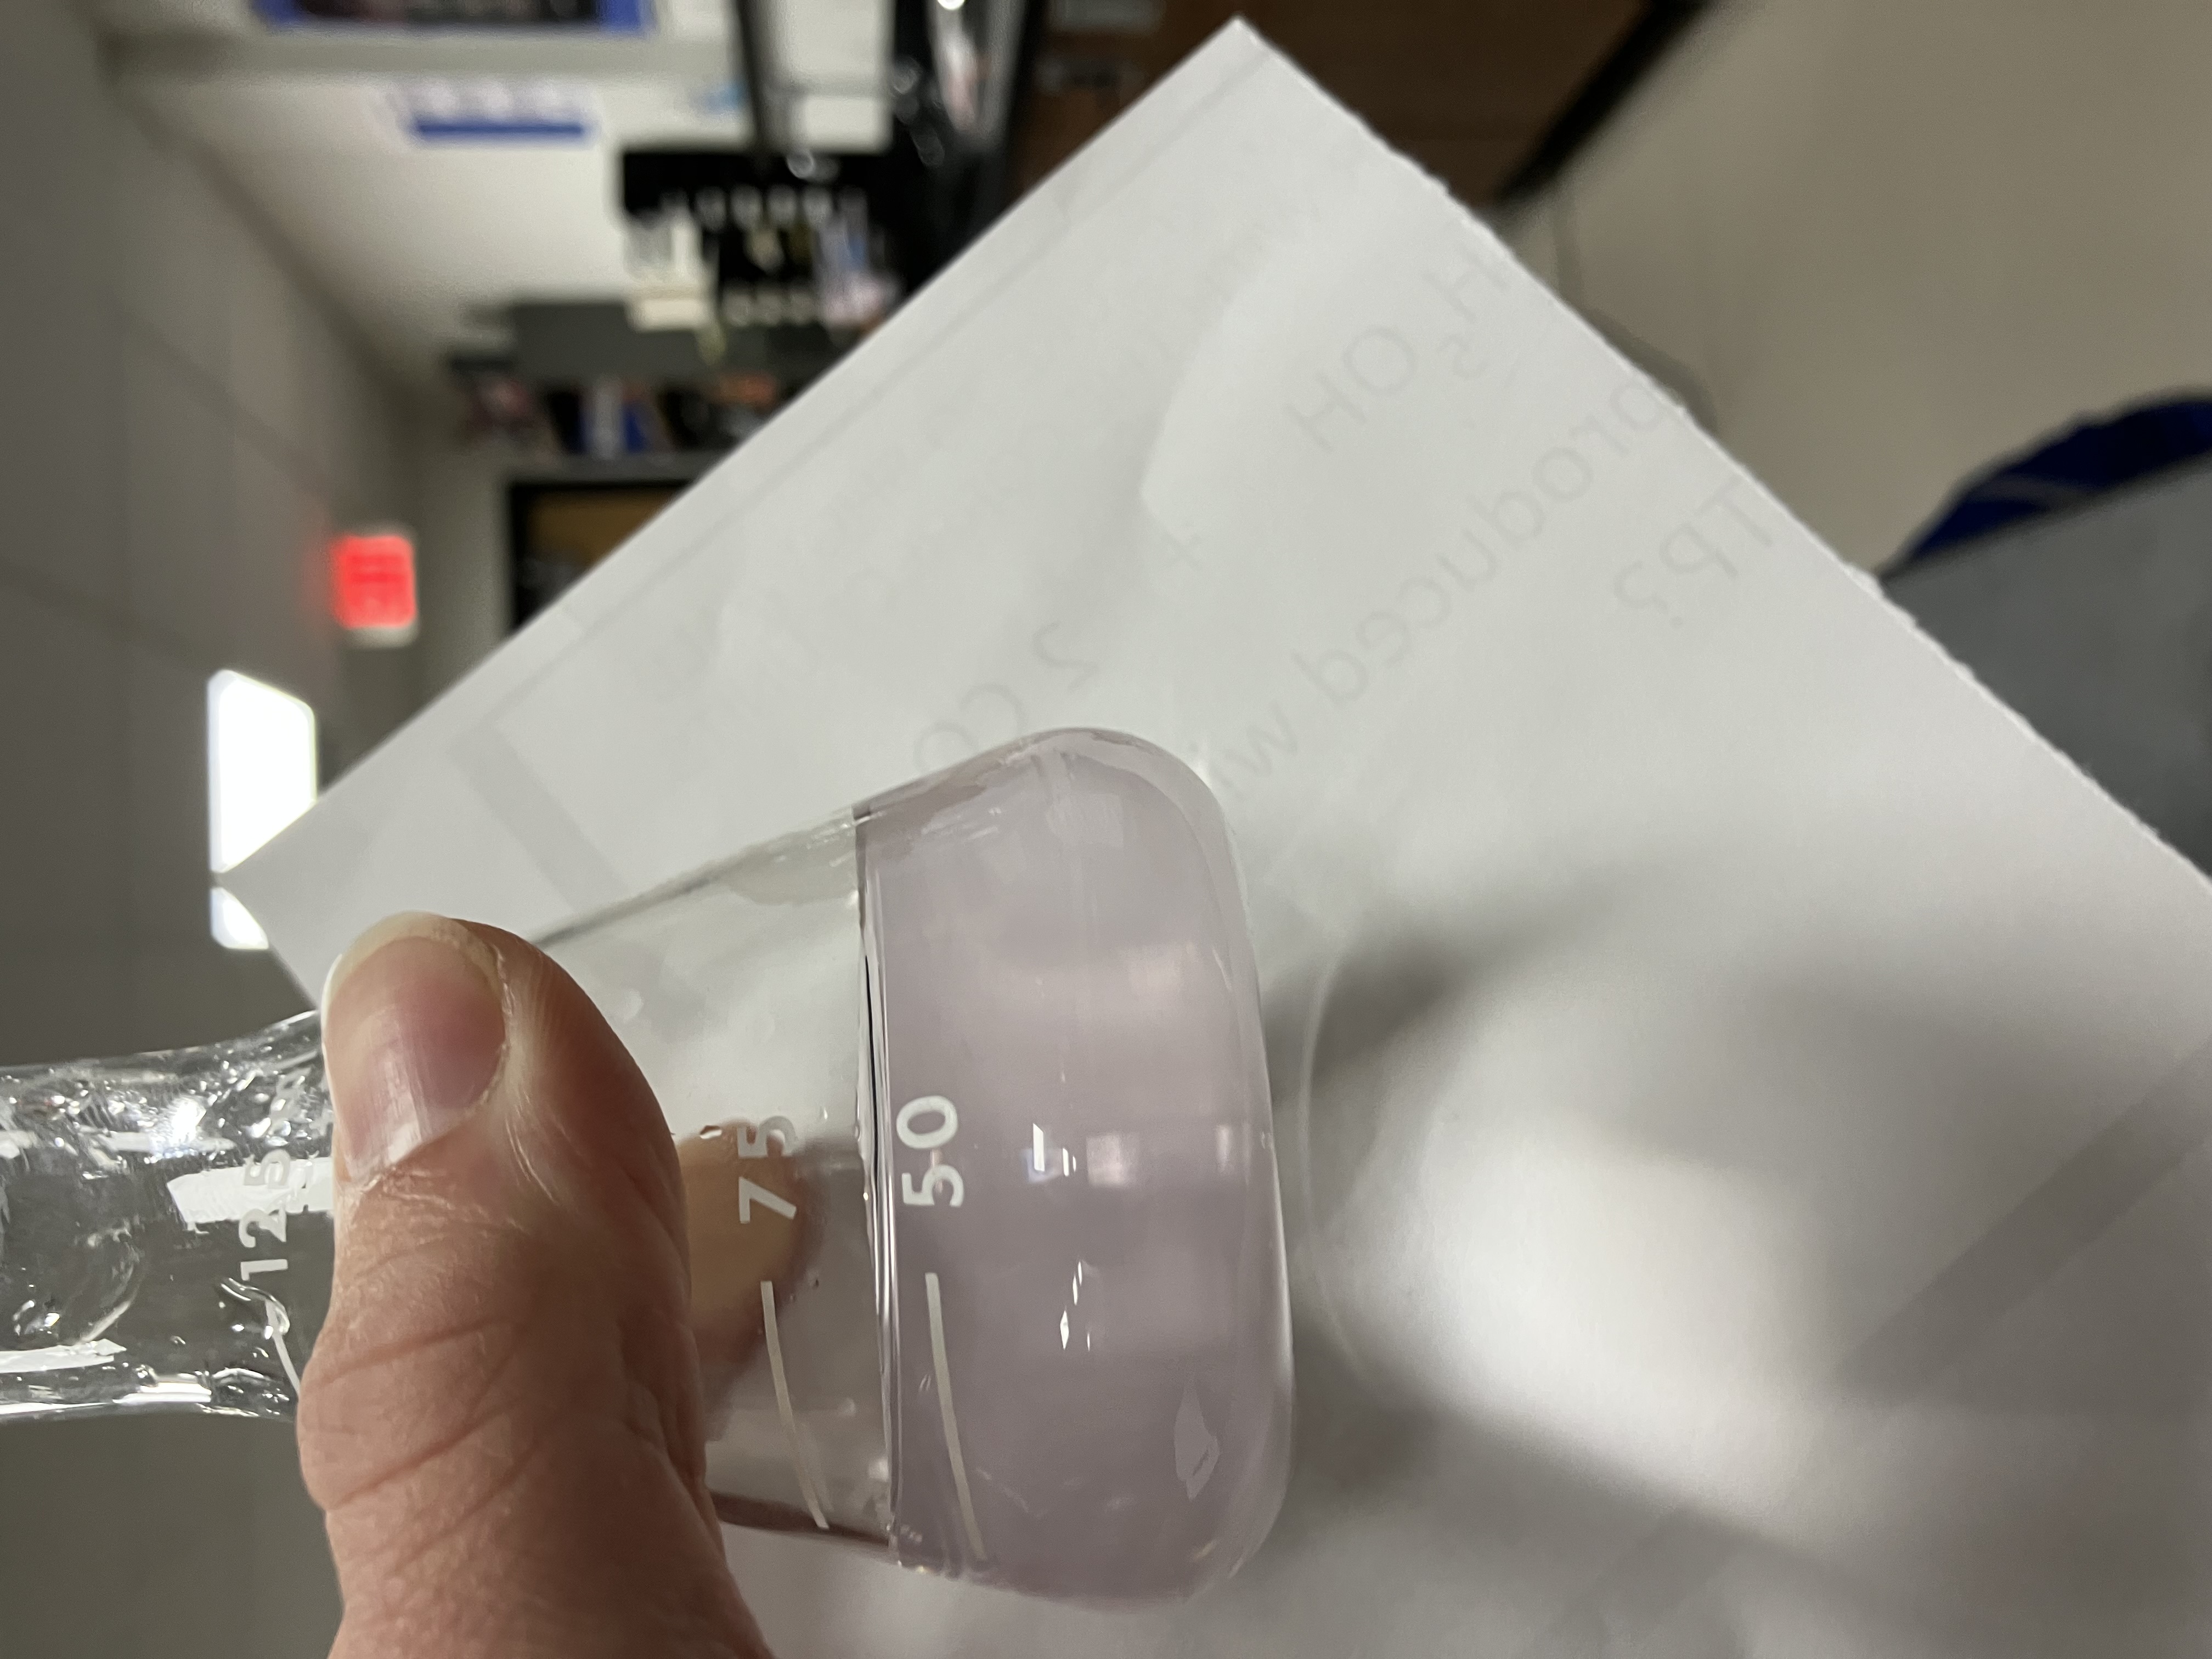
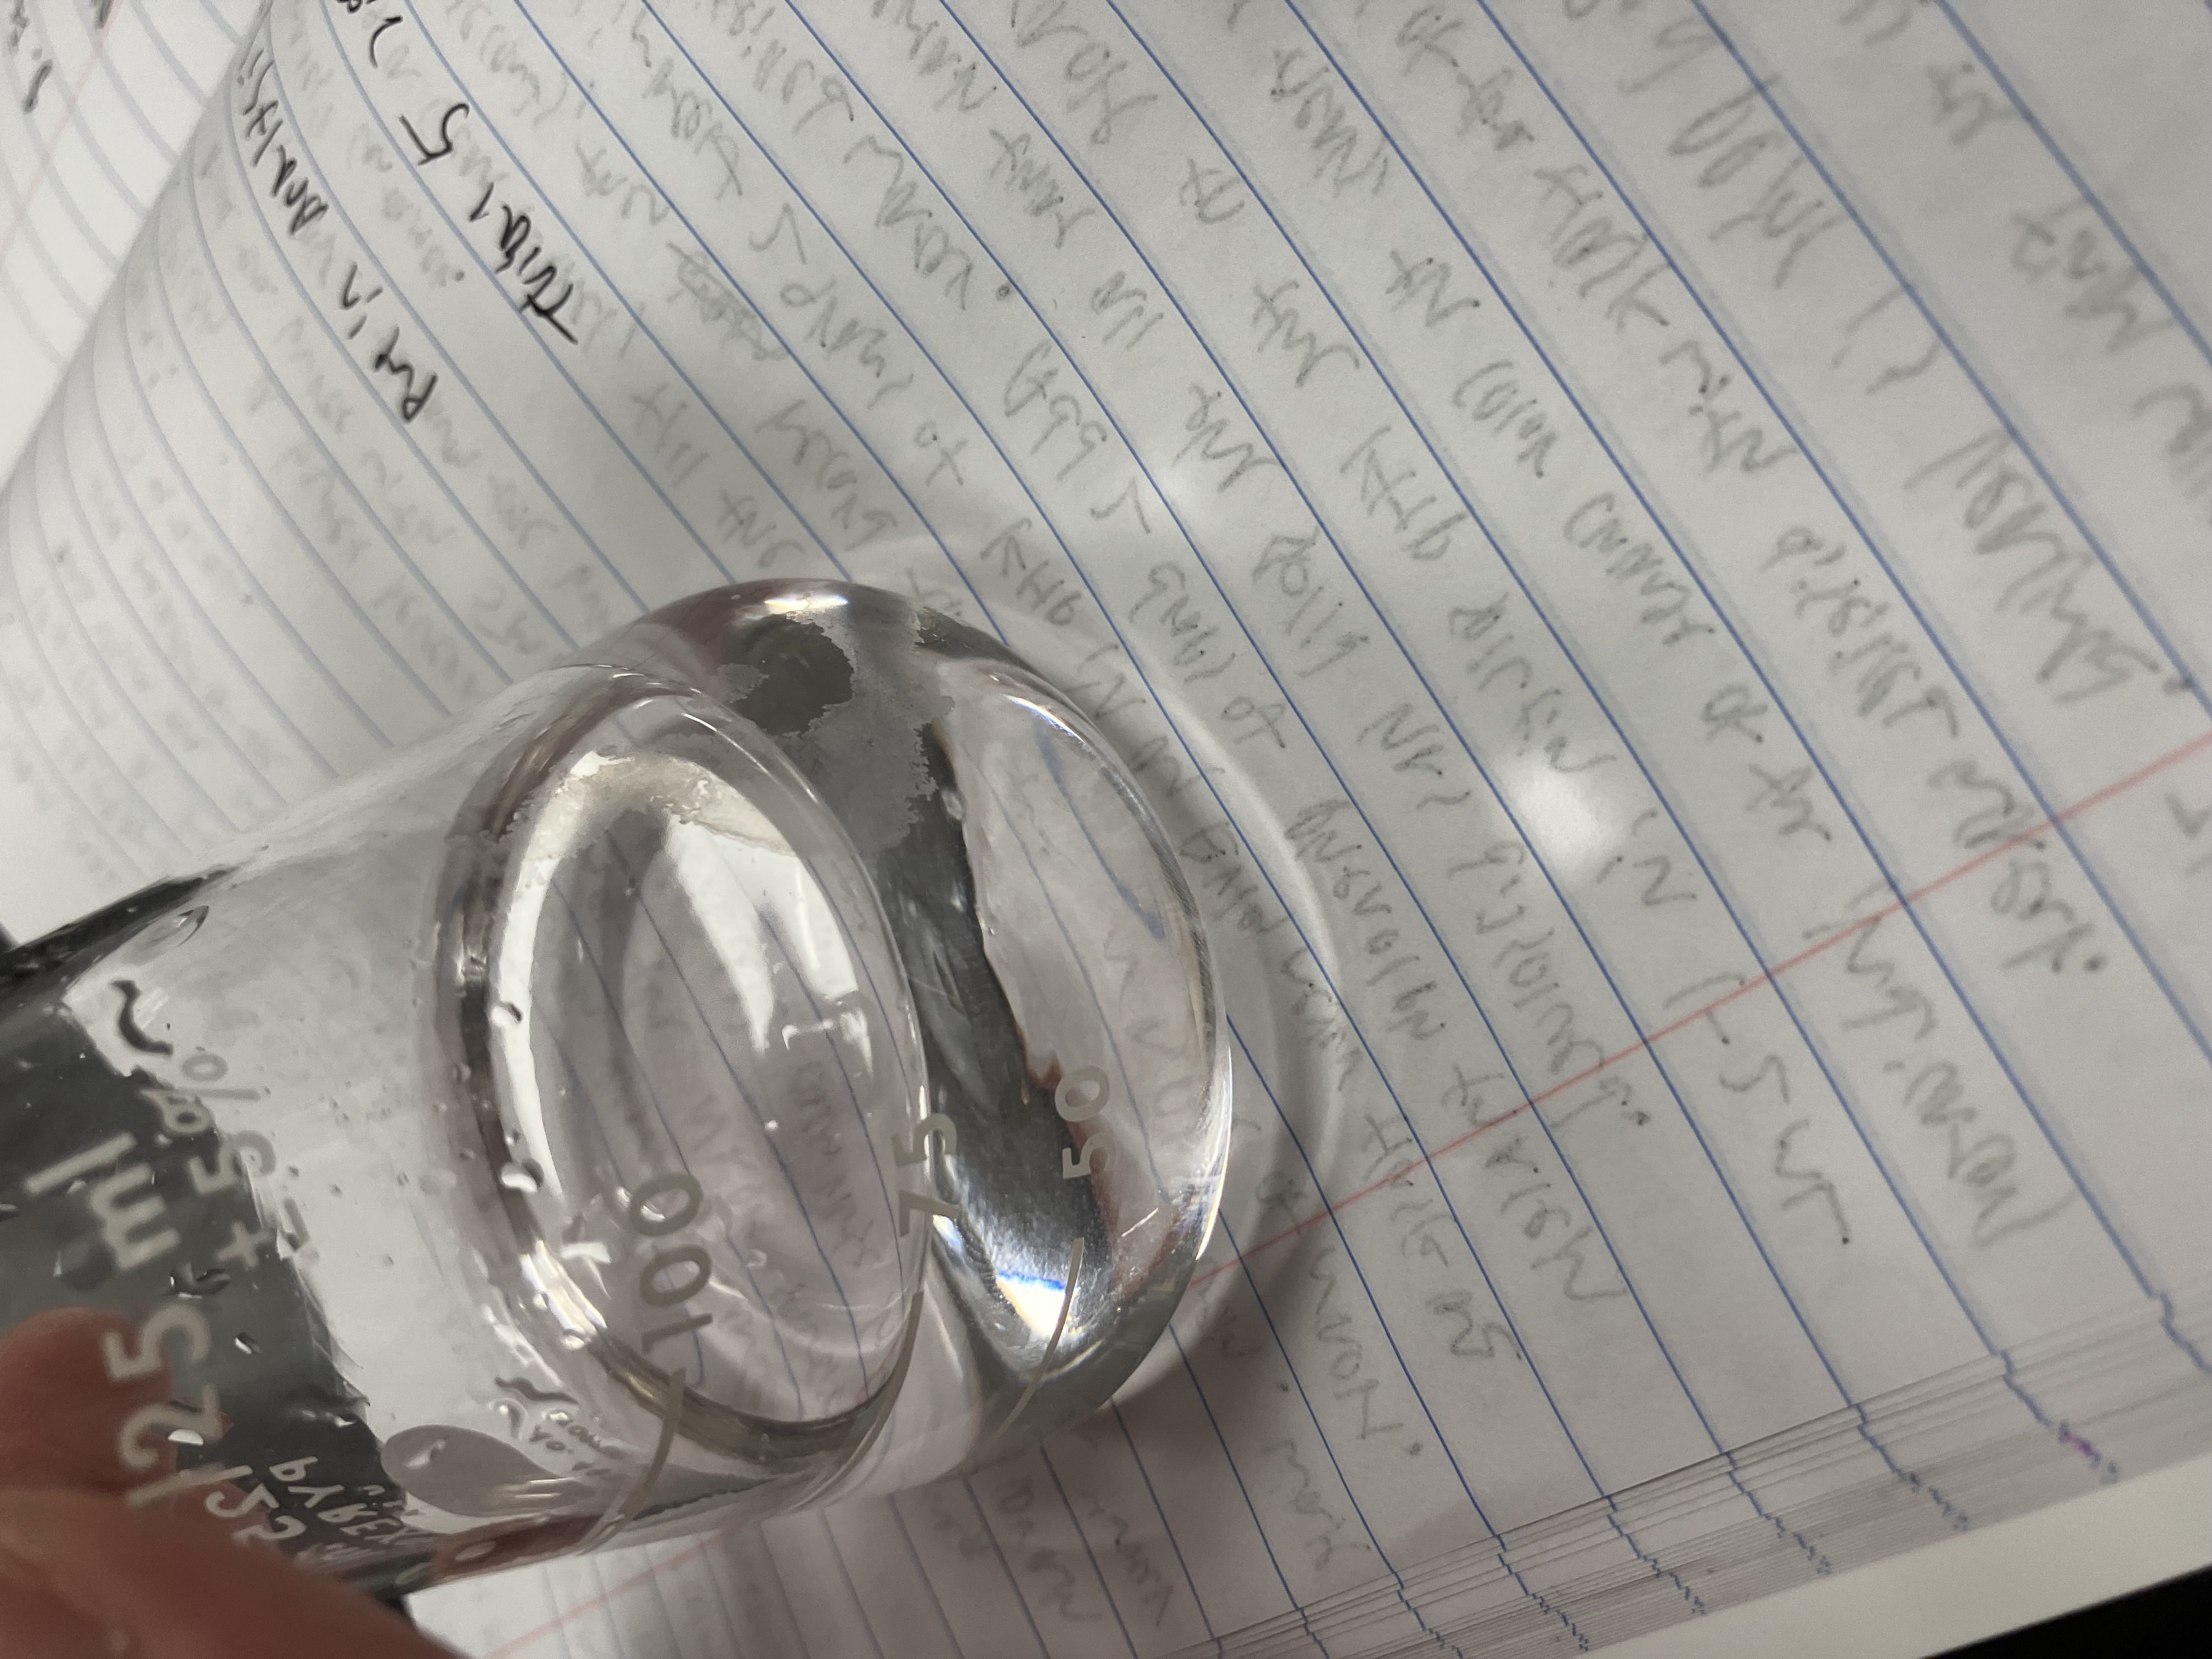
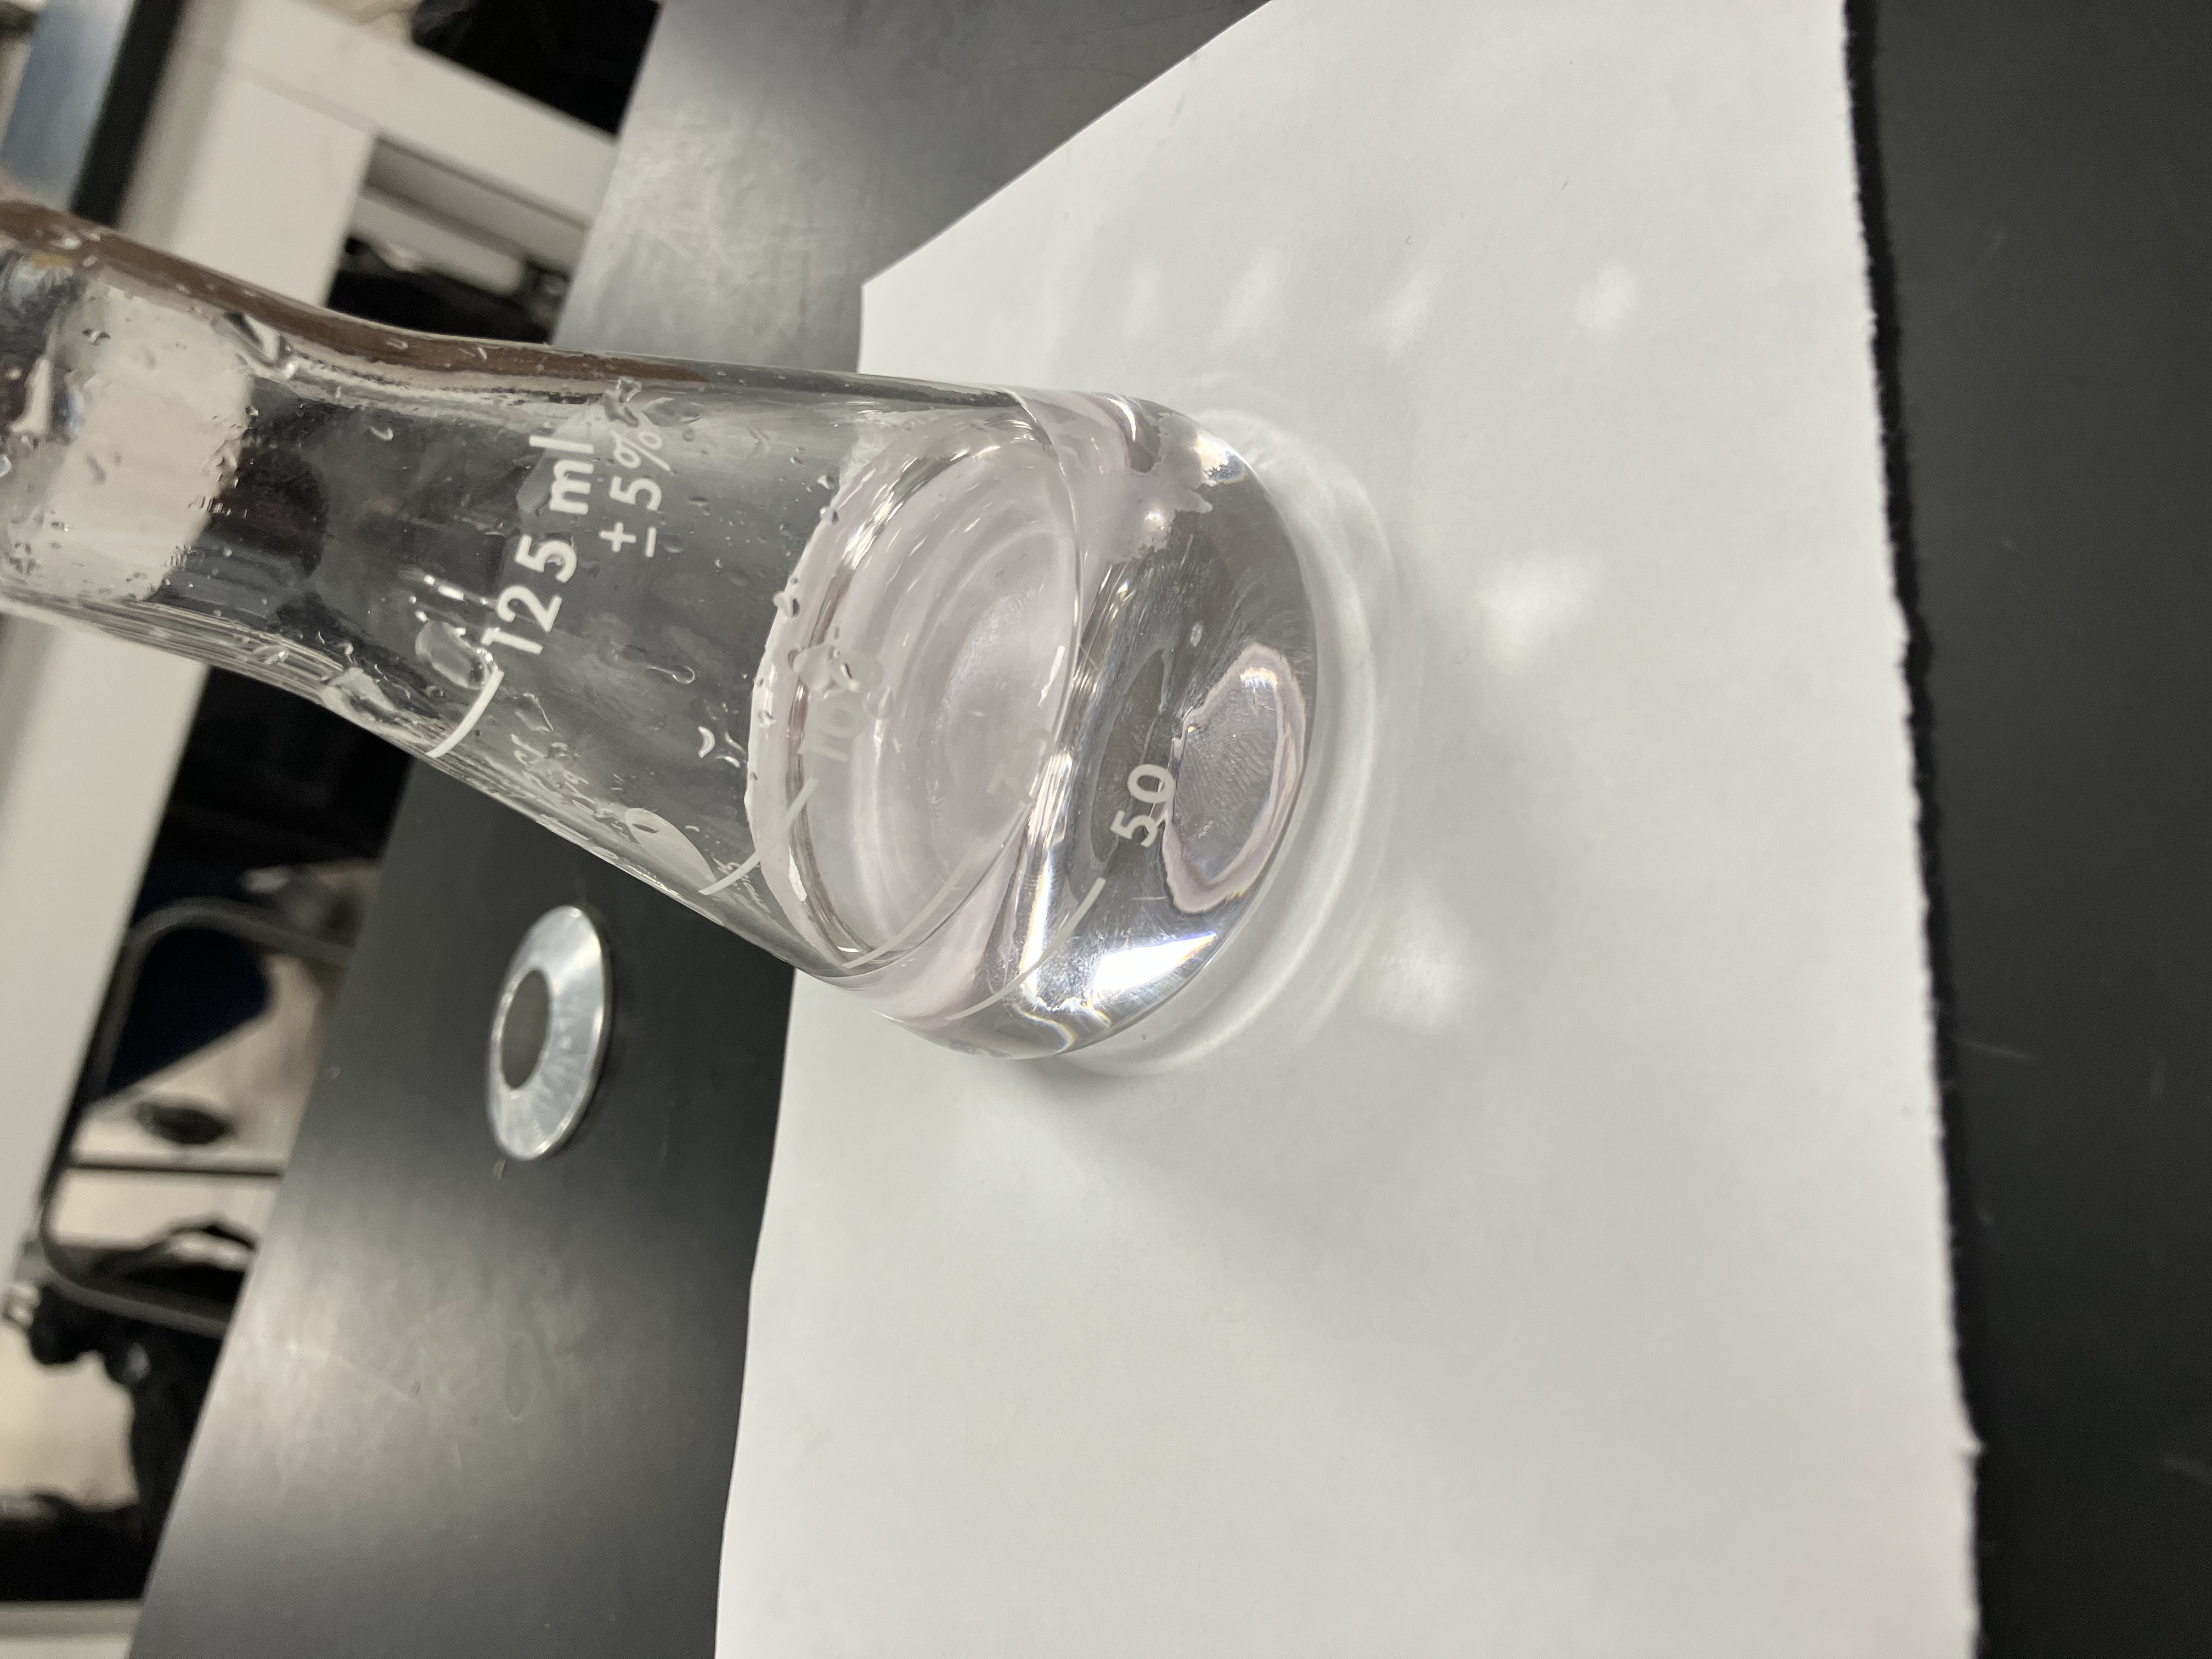
- Place approximately 2 grams of KHP in an Erlenmeyer flask and dissolve it in distilled water. Add 2 drops of phenolphthalein indicator. Make certain that all the solid has dissolved.
- Slowly add the NaOH to the KHP solution in 1-2mL increments. As the endpoint nears, the color change of the indicator slows. Occasionally rinse the walls of the flask with distilled water. Continue to add NaOH until the endppint is reached. The color should persist for 30 seconds. Record the final volume of NaOH in the buret.
- Refill the buret if necessary and repeat the titration process at least 2 more times.
- Calculate the molarity of the NaOH solutions for each trial.
Page 23
7. Calculate the percent deviation between the trials.
% deviation=(highest molarity - lowest molarity)/average molrity *100
8. If the % deviation is greater than 5%, repeat the titration process.
Data:
| Trial 1 |
Trial 2 |
Trial 3 |
Trial 4 |
Trial 5 |
|
| KHP used |
2.00g |
2.00g |
2.00g |
2.00g |
2.00g |
| Initial NaOH |
0.20mL |
10.00mL |
19.70mL |
29.4mL |
39.15mL |
| Final NaOH |
10.00mL |
19.70mL |
29.4mL |
39.15mL |
48.85mL |
Observations:
First trial turned a dark pink after about 10mL of NaOH. Way too dark. About a drop too much of NaOH. Trial 2 turned a dark pink, not as dark as trial 1. Trial 3 was similar to trial 2, same color and same amount of NaOH used. Magic numer seems to be 9.7mL when it turns pink. We lost a little bit of the KHP for the 4th trial. Trial 4 got a very very faint pink color. Even though we lost
some KHP, it looks near perfect titration. Trial 4 looked clear until help against white paper. Trial 5 was a dark pink, though better than 1, 2, and 3. 4th trial was the best out of the 5.
Trial 4